CASE STUDIES
Published on Sep. 3rd 2024
3D Scanning and Archiving Historic Carvings on the Ford Engineering Laboratory
This case study examines how historical carvings on the Ford Engineering Laboratory were carefully measured and archived using the SHINING 3D FreeScan UE Pro 3D scanner.
Introduction
Buildings of importance or historical value are renovated worldwide today. This process is delicate and intricate because most of these buildings were built more than one hundred years ago, and the materials and equipment used were very different. This case study examines how historical carvings on the Ford Engineering Laboratory were carefully measured and archived using the SHINING 3D FreeScan UE Pro 3D scanner. If these carvings were inadvertently damaged during refurbishment, we could repair them accurately and quickly.

Discover the product you're looking for
- Full specifications
- Using scenarios
- Key features
- Even comes with a bundle!
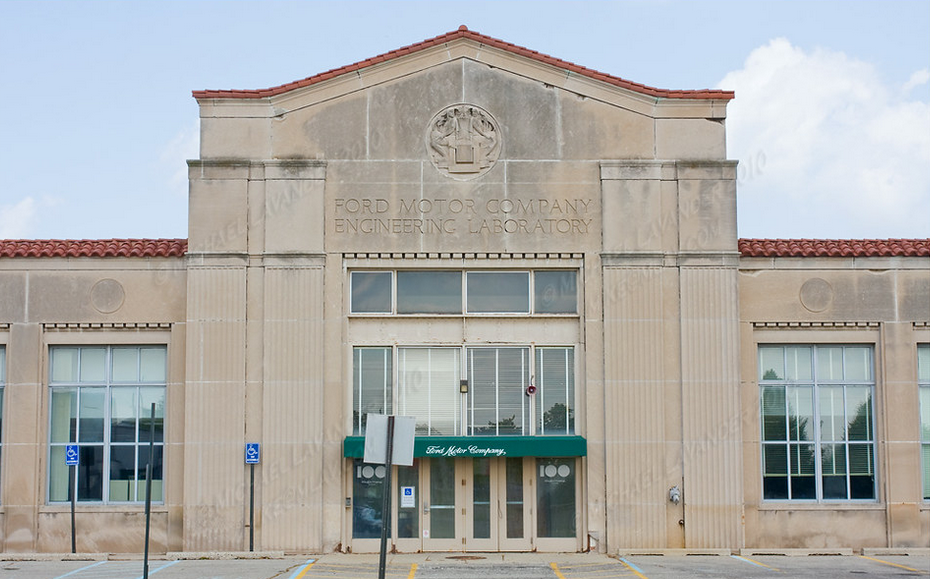
About Ford Engineering Laboratory
The Ford Engineering Laboratory is located in Dearborn, Michigan. It was an industrial marvel, as it was one of the largest open office spaces of its time. Local architect Albert Kahn designed and built the building. Three of its exterior sides have 17 detailed carvings.

Ford Engineering Laboratory
Why 3D Scanning Historic Carvings?
The Ford Engineering Laboratory was recently renovated. All exterior windows were replaced, and the sandstone walls needed cleaning and reconditioning. Ford and the contractor hired to clean, seal, and caulk the exterior wall were concerned that the carvings would be damaged when they were cleaned using chemicals or a power washing machine.
To mitigate this risk, creating a precise 3D digital archive of each carving was essential before any cleaning or restoration work began. This archive would serve as a reference for potential repairs or replacements, ensuring that the original artistry could be faithfully reproduced if necessary. 3D scanning was identified as the most effective method for capturing the intricate details of the carvings with high accuracy.

Carvings on the exterior wall
So, they contacted a related services company for 3D scanning and measuring each piece of art on the building. If these carvings were damaged, the damage would need to be repaired or replaced through 3D data.
How FreeScan UE Pro was applied in this case?
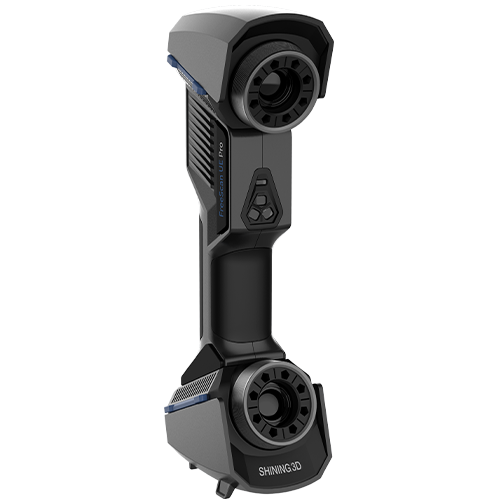
The art pieces were 15-30 feet above ground, so the scanning team used a boom lift to access each piece. They used the FreeScan UE Pro to scan the sandstone surface. Three scanning modes (26/7/1 laser lines) allow both overall and detailed data to be captured quickly. The built-in photogrammetry also made the data collection so much quicker and easier, especially on the larger pieces that were approximately 8 feet in diameter. It simultaneously achieved impressive volumetric accuracy of up to 0.02 + 0.015mm/m.

3D Scanning a carving on the exterior wall using FreeScan UE Pro
The entire scanning project took only a couple of days to complete. The output was STL files for each piece of art. The archived data can now be used as a reference for future restoration work.
These are an example of a few of the measured pieces.
 Measured pieces
Conclusion
Using the FreeScan UE Pro in this project was instrumental in preserving the intricate carvings on the Ford Engineering Laboratory. By creating accurate 3D models of these historic artworks, the team safeguarded their details against potential damage during the cleaning and restoration.
If you are involved in restoring historic structures, consider the benefits of 3D scanning technology. The FreeScan UE Pro offers the accuracy and reliability to protect and archive valuable details before restoration work begins.
Click the button below to learn more about FreeScan UE Pro, and contact us today to learn how our 3D scanning solutions can support your preservation projects!

FreeScan UE Pro
FreeScan UE Pro equips high-precision, metrology-grade accuracy and lightweight design while improving the ability to fine-scan and global precision control large-scale workpiece scanning.
- Metrology-Grade High Accuracy
- Global Precision Control
- Multiple Scanning Modes
