Case Studies
Published on Feb. 20th 2025
Solving Machining Benchmark Misalignment with SHINING 3D: Boost Product Qualification to 99.5%
In casting, even small misalignments can lead to costly defects. By using high-accuracy 3D scanning, a metal casting company can inspect blanks, simulate machining benchmarks, and detect boss offsets, minimizing errors from traditional methods.
Zhongyan Casting Co., Ltd. specializes in manufacturing aluminum, copper, and other metal castings for global markets. To improve accuracy in casting and machining, Zhongyan Casting adopted SHINING 3D’s FreeScan series 3D scanners. Using high-accuracy 3D scanning, the company quickly inspects blanks, simulates machining benchmarks, and detects boss offset, significantly minimizing product defects due to misalignment and achieving a product qualification rate of 99.5%.
This case study is also available on YouTube:
Challenge: How to Ensure Accurate Machining Benchmarks in Casting Production
In 2023, Zhongyan Aluminum Casting received a large order for medical device parts from Siemens. Initially, the company relied on its expertise to fulfill the order successfully. However, as the size and complexity of the castings grew, challenges emerged. Siemens’ machining procedures had strict requirements, and even a 0.2 mm shift in the reference position of the casting blank could lead to misalignment in the boss screw hole, affecting assembly and strength.
To resolve this, after completing casting and surface inspections, Zhongyan Casting needed a more precise method to position and inspect machining benchmarks. Traditional tools, like vernier calipers and height gauges, lacked the required accuracy, and 3D coordinate systems only provided point values, not the complete solution.

Discover the product you're looking for
- Full specifications
- Using scenarios
- Key features
- Even comes with a bundle!
FreeScan Combo Series Resolves Benchmark Misalignment
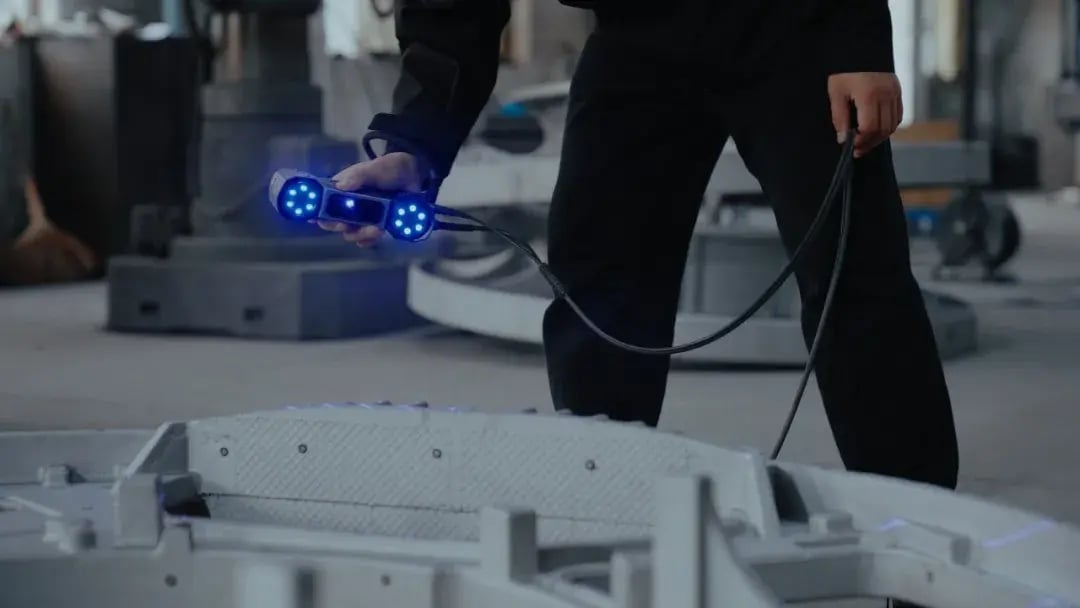
To solve this problem, Zhongyan Casting began to look for new inspection solutions. After exploring different options, the company decided to implement SHINING 3D’s FreeScan Combo, a multifunctional metrology laser 3D scanner, to tackle the misalignment issue.
“Thanks to SHINING 3D’s application engineers, who provided invaluable support in pinpointing the root cause of the misalignment, the defect rate dropped to just 0.5%, with virtually no dimensional discrepancies.”
——Chen Lüyu, CEO of Zhongyan Casting

High-accuracy 3D solution workflow
Step 1. Capturing complete 3D data
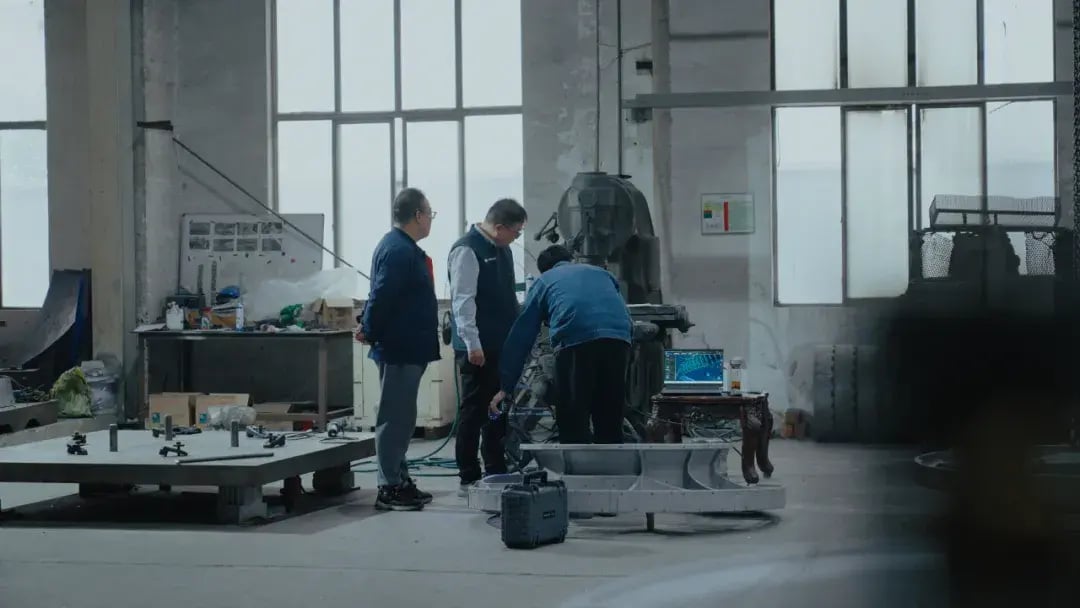
FreeScan Combo, with a metrology-grade accuracy of 0.02 mm, ensures consistent, high-precision scanning results for full-size inspections. Its robust adaptability to various work environments allows it to directly capture 3D data of castings on the production floor.

Step 2. Simulate machining benchmark positioning
The complete 3D data will be imported into inspection software for benchmark alignment. By comparing the scanning data with the CAD data, the system checks for boss offset. This allows for early detection of potential issues, ensuring smooth subsequent processing and enhancing product quality control.

Step 3. Adjust castings based on inspection results
If the casting part passes inspection, it moves on to the next process and is ready for shipment. If unqualified, the inspection software allows for repositioning of the reference surface to meet the requirements for subsequent processing. The casting can then be polished and adjusted according to the data measured by the inspection software.
Conclusion
With SHINING 3D’s FreeScan Combo, Zhongyan Casting can now perform full-size inspections before castings leave the factory, ensuring flawless machining and boosting product qualification to 99.5%, improving both quality and production efficiency.
Looking for a way to enhance your manufacturing process with 3D scanning technology? Click below to learn more about our products and schedule a free consultation and demo.
FreeScan Combo
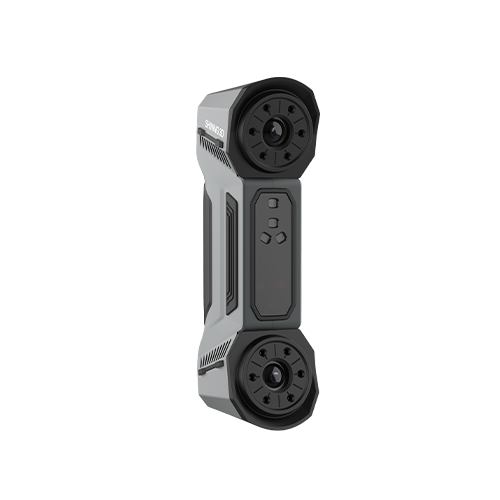
The powerful FreeScan Combo packs dual light sources in an ultra-compact shell, measuring just 193x63x53mm. It's equipped with both blue laser and infrared VCSEL technology and weighs in at only 620g.
- Blue laser & Infrared light
- 4 Scanning modes to cover all types of workpieces
- Lightweight
